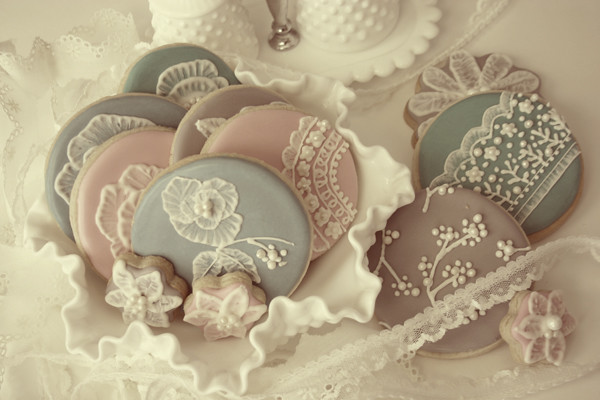
Today I'm going to attempt to copy the "vintage" bloggy trend that is found all over pinterest in fashion, decor and now cookies! Yes, these were inspired by pearls, lace and embroidery that you can see if you click on this pinterest board of mine. And in an effort of full-disclosure I edited these pictures with a photoshop action called "seventies" by pioneer woman. It makes them look a little older. When have I ever wanted my cookies to look old? This is a first people!
I knew that I had seen people make embroidered looking flowers with royal icing on cakes before. I just didn't know what it was called or how to do it. So, I asked the lady at my local cake and candy store and she said, "Oh, you're talking about brush embroidery and all you need is a paintbrush!" So I picked up a paintbrush and went home to google "brush embroidery." I found lots of beautiful inspiration and instruction. Here are a few links to inspire you as well: Wilton, flikr, Ali Bee's Bake Shop, Sweet Ambs, sugarcraft. And you better bet that you can find this on Callye's site too!
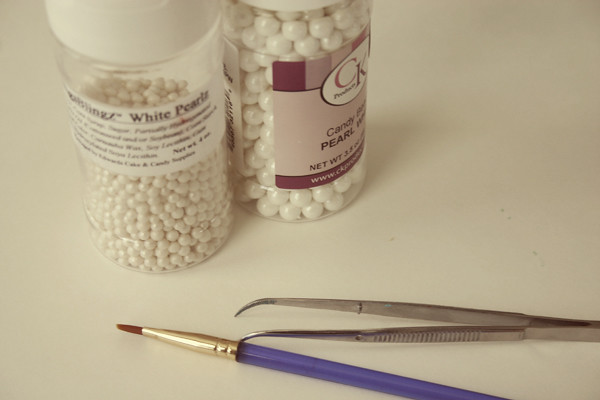
I armed myself with some sugar pearls, tweezers to place them and a new clean paintbrush.
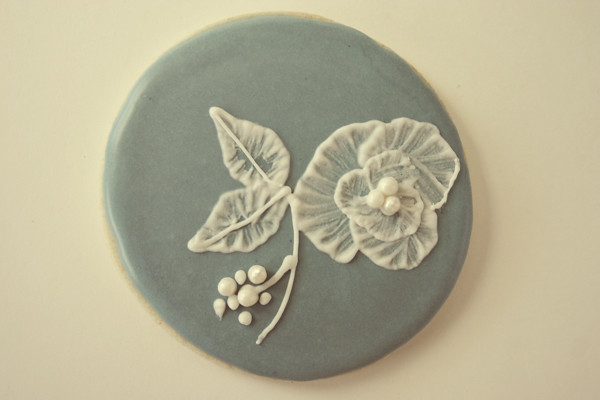
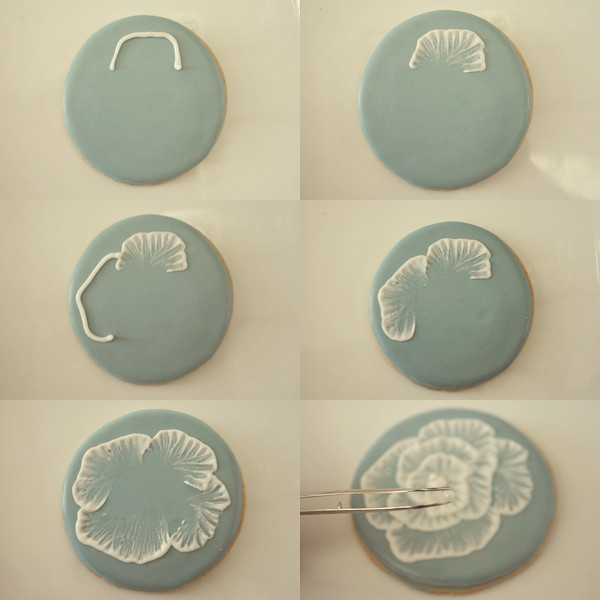
You will need to start with a cookie that has a base layer that has dried for about 24 hrs. You also need to sit down with a brush, glass of water, paper towel and white royal icing that is about 20 seconds thick. In my attempt to make a rose, I started with one petal at a time. After it was piped I brushed about 2 times, rinsed in the water and dried on the paper towel. Then I did a few more brush strokes and repeated until I had one whole petal. Then I moved onto the next petal. Once I made it all the way around, I let it dry as I went onto other cookies. Then I came back and repeated the same steps in the inner petals. Once I did the 3rd circle of petals, I put a dot of icing in the center and placed my sugar pearls on.
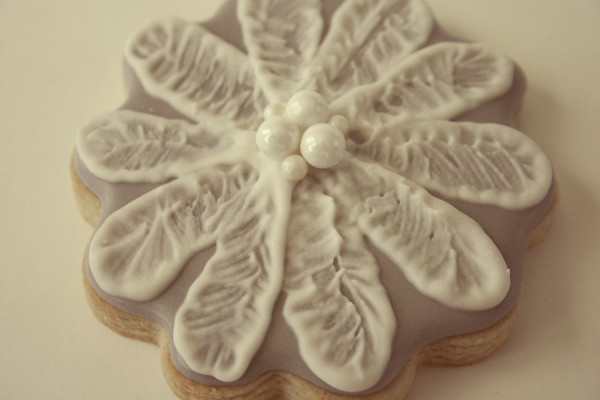
If you want your flowers thicker like the one below, just use a bigger tip for your white icing. This one was a three and the ones above were done with a #2 tip.
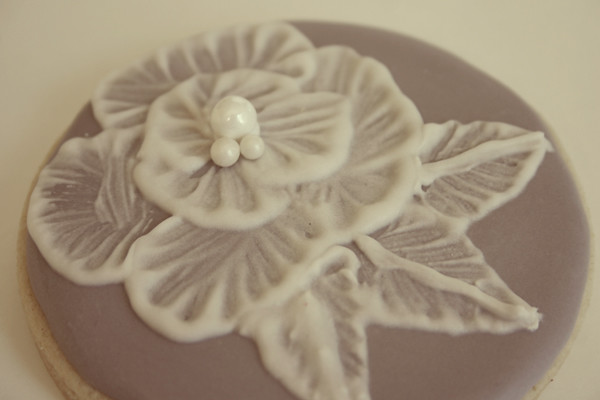
I tried lots of different flower shapes, but the rose was my favorite.
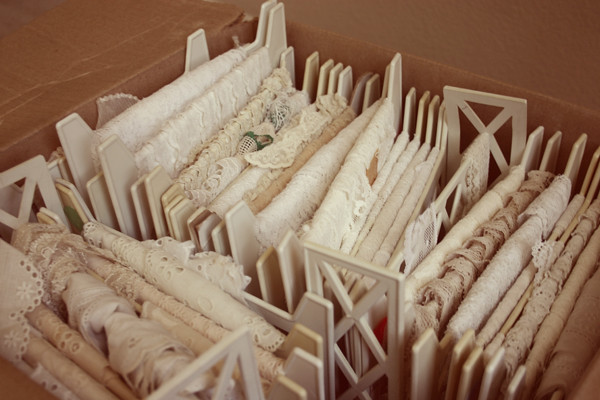
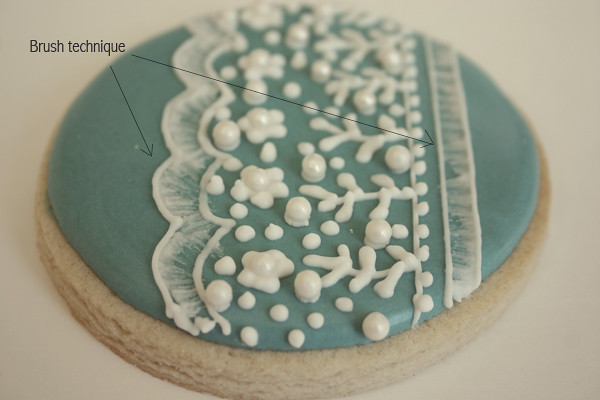
I wanted to make some lace-ish cookies so I checked out this old box of lace (what a treasure that I inherited) and saw that all lace is not created equal. They are all so different, so you really can't go wrong.
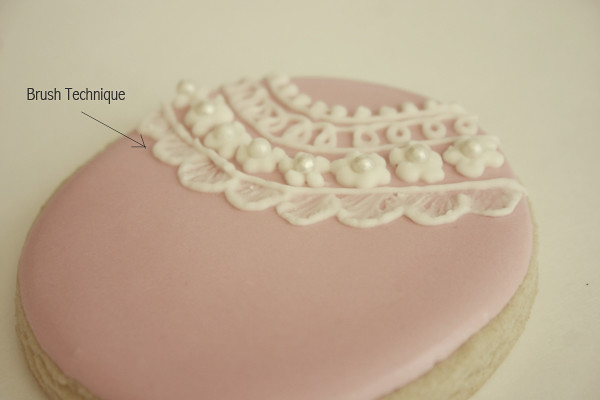
But I applied the brush technique to parts of my lace cookies and topped them off with some pearls too!
All of these were done without my projector. I pretty much made them up as I went, having no plan before time. I know it's not like me at all, but every once in a while, I live on the edge!
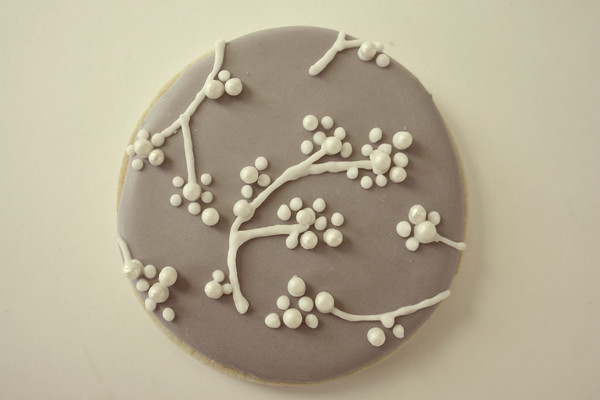
This one was done with no brush technique but I'm still qualifying it as vintage.
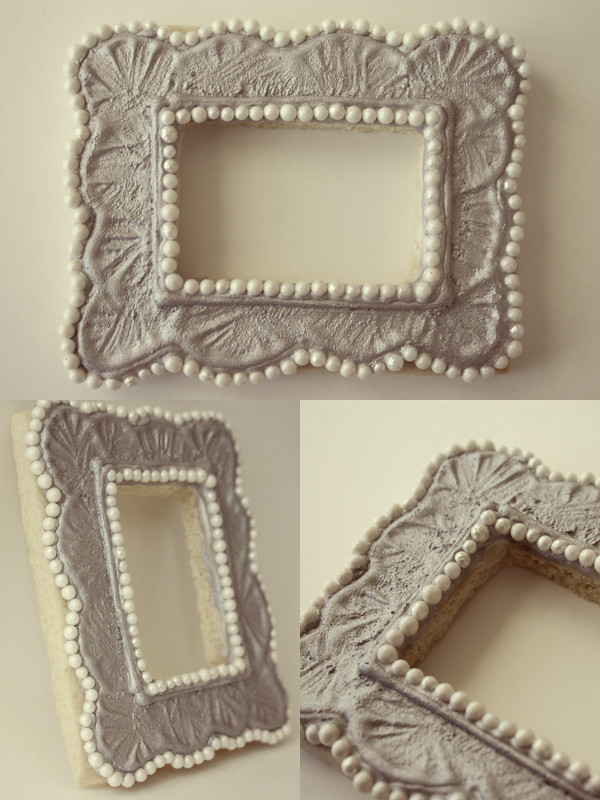
But I did use the brush technique to create a little vintage frame, cookie style! You can see that I just did a scalloped border and pulled in with the brush. Then I went over the frosting with silver luster dust. After that, I piped a border and put the pearls on. And in an attempt to go with the trends, I left the frame empty. The empty frame trend is big! Too bad I didn't make several of them and put them in a collage on my wall. Hehe!
I got a kick out of trying this new technique and making vintage cookies. I used some of these ideas in a vintage style wedding recently! We'll be sharing those wedding details soon! But for the rest of the week, Callye and I will continue to share our pinterest inspired cookies with you!
Labels: decorated cookies