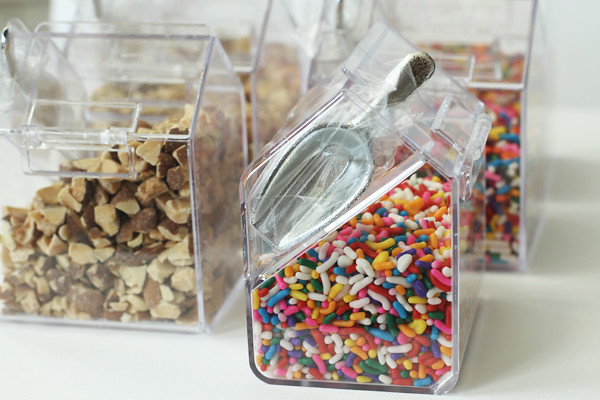
Don't you just love gift baskets? Receiving them, I mean.
Creating them can be daunting. I know you've all been asked to put one together for a school carnival, fundraising event, or something of that sorts. And we all want our gift basket to look it's best, right?
Well, I tried my best in the "presentation" department for my latest gift basket assignment, and I thought I'd share some things that added a special touch to this "ice cream sundae gift basket."
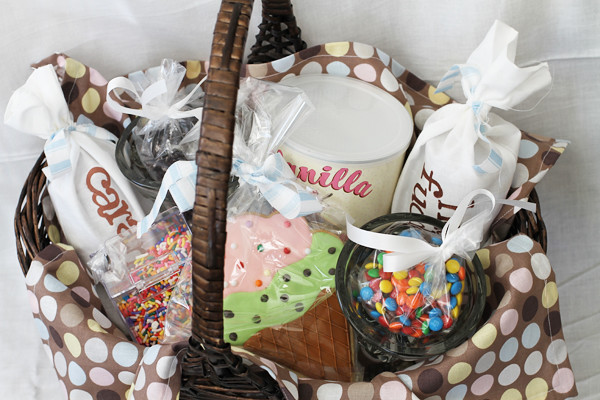
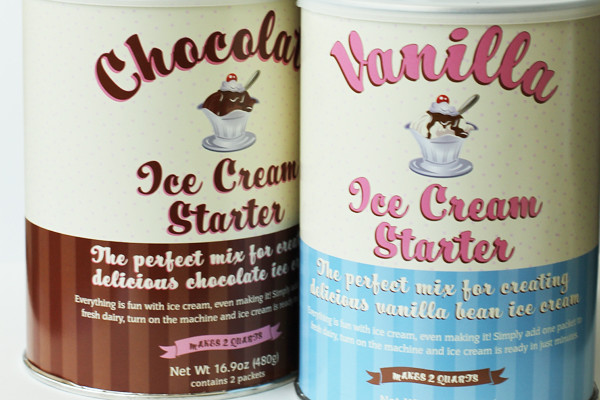
Well the main part of a sundae is the ice cream, but that's a little hard to package seeing as though it will melt rather quickly. But I was so excited to find this stuff that makes homemade ice cream quick and easy. I found it (and the baskets I packed it all in) at World Market. Major score!
And then at the same place, I found these stinkin adorable little containers that have a little scoop in them. Perfect for the sprinkles and almonds. Yes, toasted almonds, not peanuts. That's how I roll. But I bagged a couple of other toppings because I wanted them to sit right in the ice cream sundae dishes I got. They just looked sad when they were empty.
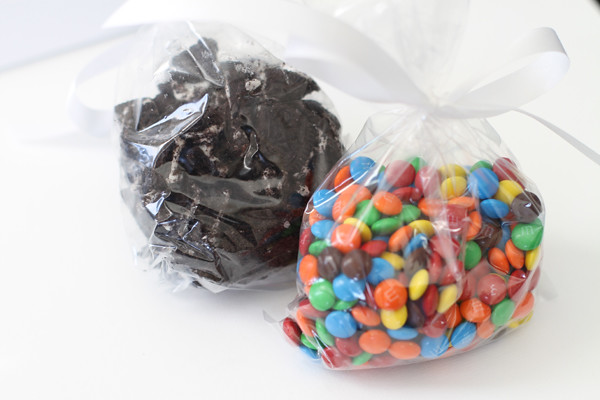
Now the topping labels were fine and all, but I kind of felt like they were messing with my mojo and I wanted to cover them up. So I sewed very simple bags to put them in.
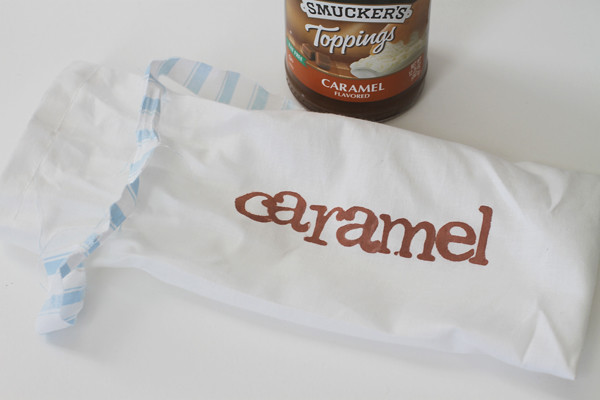
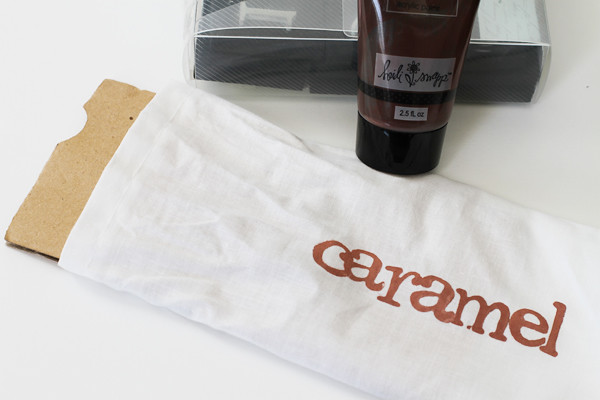
Then I stamped them with some old foam stamps and craft paint. I figured no one was going to wash and re-use my silly topping bags, so I didn't go buy fabric paint. But I did put some cardboard in the bag before I stamped. I was thinking ahead, I tell ya!
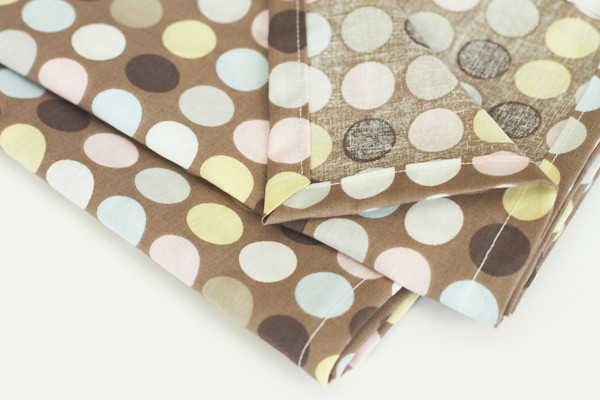
And while I was browsing for some white fabric I found this cute polka dot stuff that just screamed ice cream shop to me! I was working under a time crunch, so instead of sewing a full basket liner, I just sewed a napkin and lined the basket with that. I used this tutorial at Skip to My Lou to do my mitered corners.
So all of these ice cream things are great and good, but they provide no immediate cure for a sweet tooth. So, I thought a little cookie was in order for the recipient to munch while they get their ice cream done!
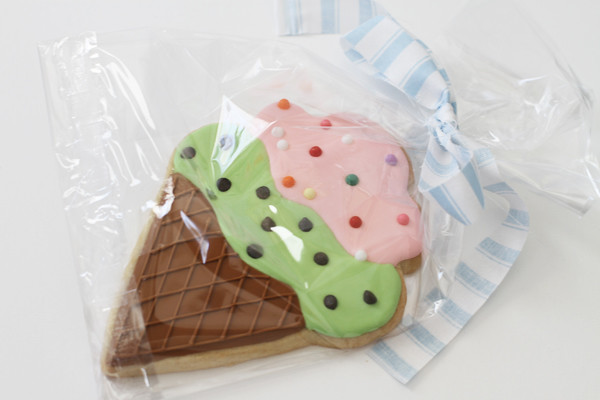
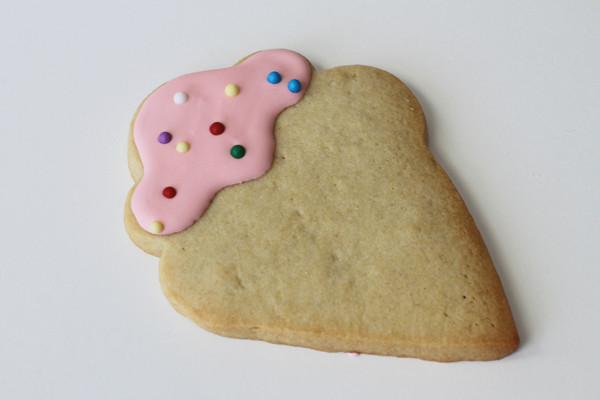
I've done a cookie similar to this before, but I thought I'd show you how simple the steps are:
For my "bubble gum ice cream" I just used medium thickness (10-15 second) pink royal icing and threw on some colorful sugar pearls while it was wet. I let it dry about a half hour in between layers.
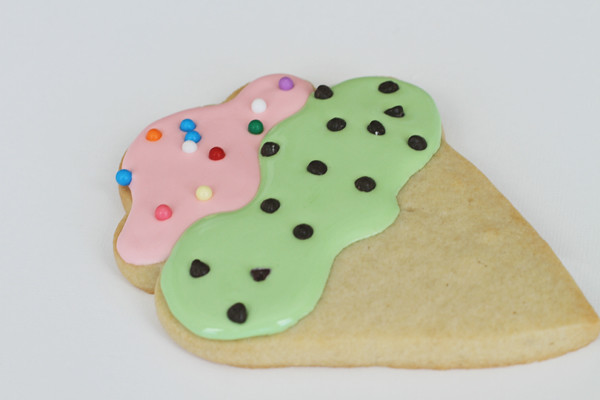
For the "mint chip" layer, I did the same with green icing and candy covered chocolate chips. They come in a rainbow of colors, but I picked out the brown ones. I'm dedicated to the cause...
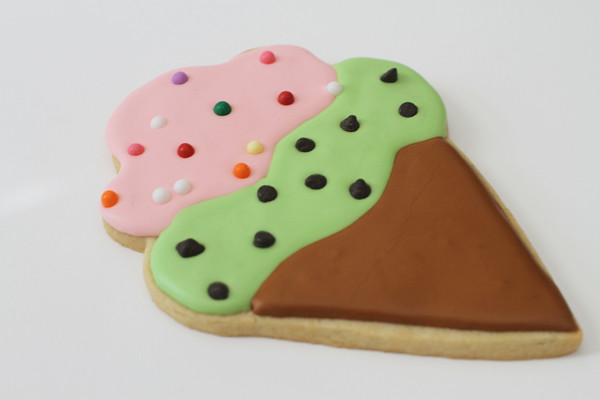
Then I simply made the cone!
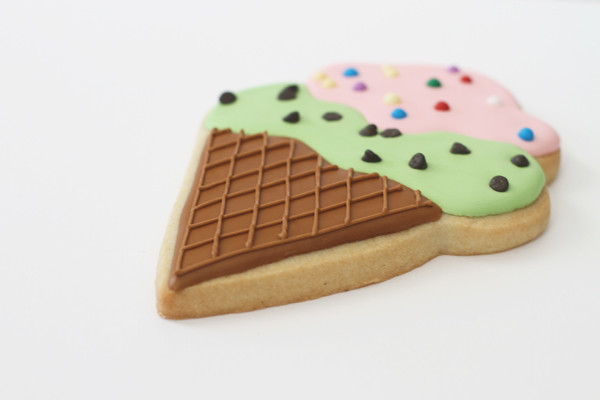
After about 5 hours when that frosting was mostly dry, I decided it would be better as a waffle cone.
I do love a good waffle cone at the yogurt shop!
So that is what went into this little basket of mine.
I figured I couldn't go wrong when giving the gift of ice cream!
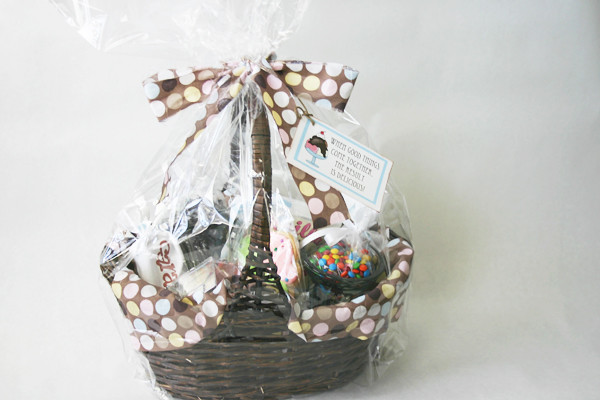
Assembling this gift basket ended up to be quite a fun (and not a daunting) task! I didn't have any exact plans when I went out shopping. I just seemed to easily find a few items that got me excited! I love it when that happens! So gear up for your fundraisers, friends. I just know you will have gift basket success too!Labels: cookies, Gifts, other fabric stuff
