You ready for the fun pillows?
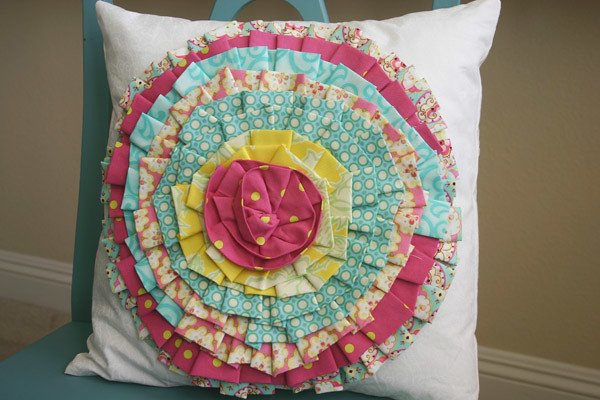
I'll start with the massive flower pillow.
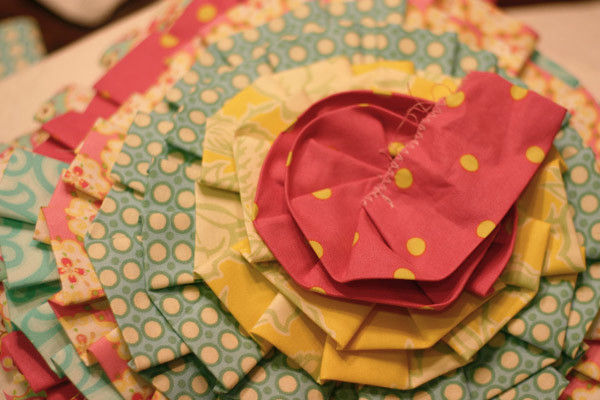
I originally started out wanting to cover the whole pillow with lots of flowers that were the size of the pink center.
But while experimenting, I just kept going around and decided to just connect all of my fabric strips.
The fabric was 4" wide. Folded in half and ironed, it was 2". I just sewed continuously and used all of the scraps that would work. I was just going to cut off whatever I didn't need at the end.
I zig-zaged the raw edge to control fraying.
I ended up using all 10 yards of my 2" fabric. My pleats were deep and there was some serious yardage in there. I'm sure you could make it as full or sparse as you wanted.
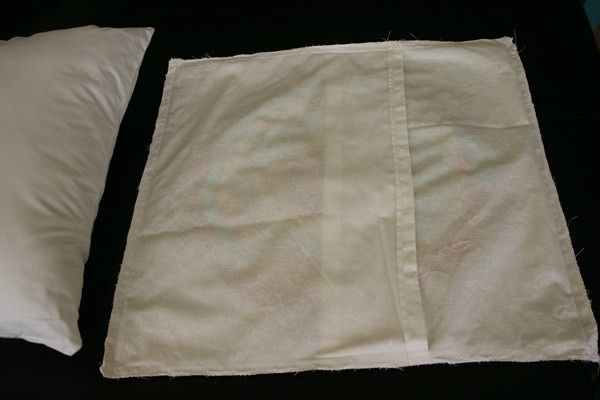
I was using a 16x16" pillow form, so I cut the white fabric a 16 3/4" square.
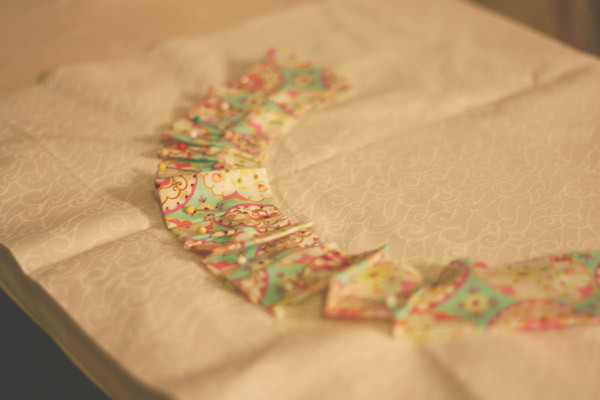
In the center of that fabric, I traced a circle with my mixer bowl.
I used that as a guide as I pleated, ironed and pinned around it.
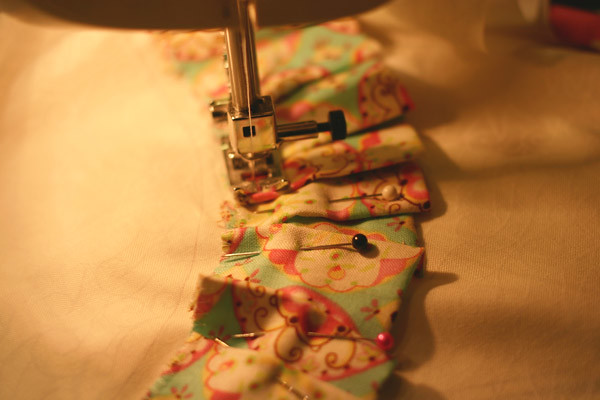
I went in one full circle, then sewed it with 1/4" seam allowance, taking the pins out as I went.
As soon as that was secure I pinned another full circle about 1/2" in. I tried to hide all of the seams (where the different fabrics connected) inside a pleat.
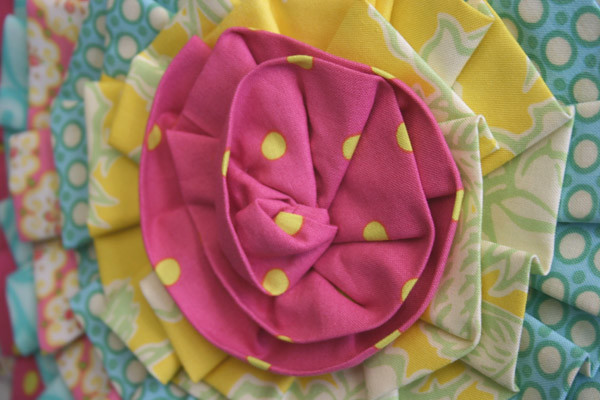
I did this until I had several inches of my fabric left to finish. At this point, it was too thick and awkward to sew with my machine so I hand stitched the rest. I tried to tuck in the ends and make it look somewhat like a rosette.
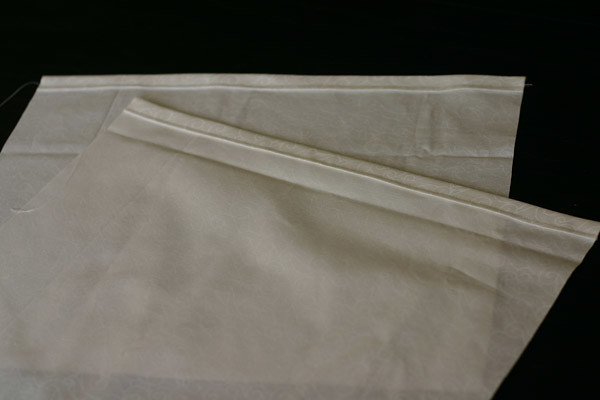
I've explained the envelope back in previous posts, but here are some pictures.
I cut two pieces that would overlap. They each had one side hemmed.
Then I sewed one side on, right on top of the front of the pillow.
Then I sew the other on. You can tell how much they overlap.
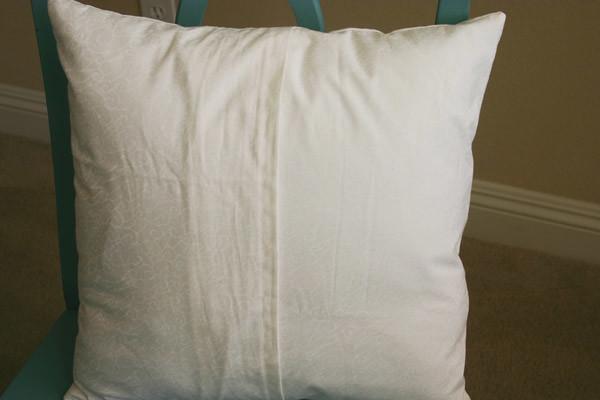
when you turn it inside out and put the pillow in, it is neat and tidy like this:
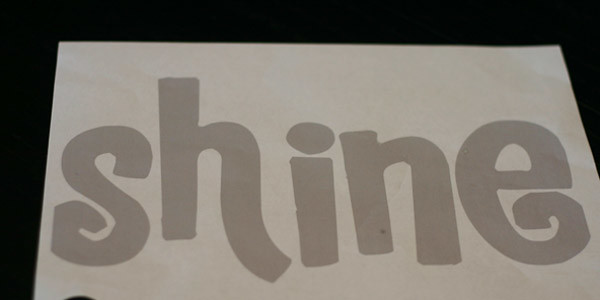
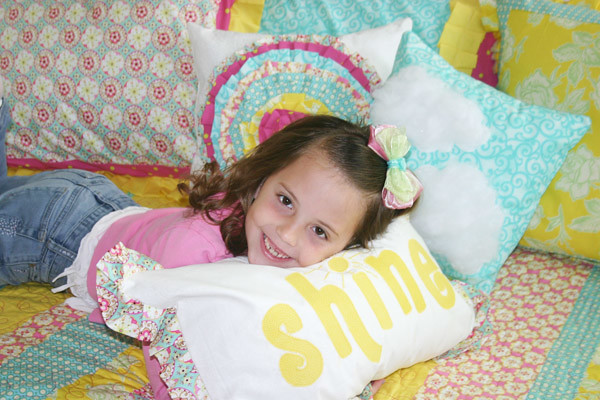
For my "(sun)shine" pillow, I started on the computer and printed out the letters in the font I wanted. I cut them out.
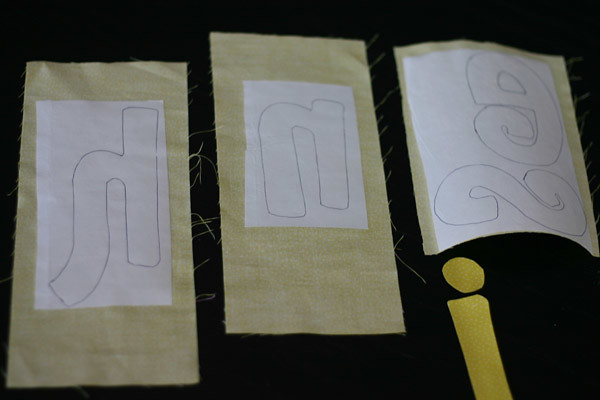
I used an applique bond to keep the letters in place while I sewed.
I ironed the adhesive to the fabric, then traced the letters (backwards) onto my fabric.
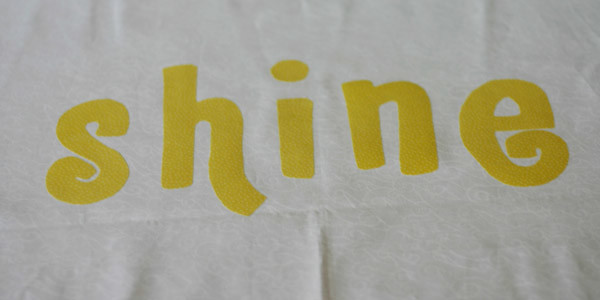
I cut the letters out again, peeled off the adhesive then ironed them on.
Then I machine stitched, very slowly around the letters. It isn't perfect, but you have to look close to see the mistakes. This was the first time I had tried to machine applique. I'm here to tell you it's not as scary as I thought. Totally do-able!
I attached the ruffle and back as I have explained in
this post.
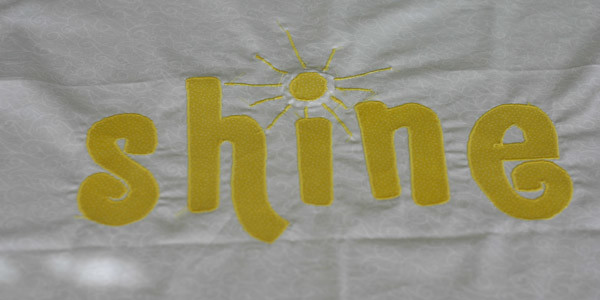
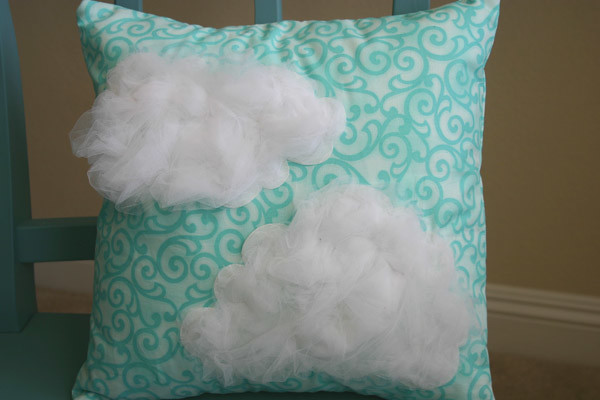
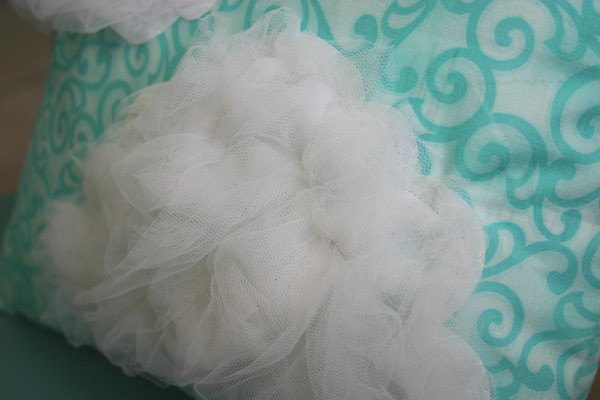
Last, but not least, I wanted to add a little texture.
With sunshine, there are often a few clouds...
This was a quick, last minute thing. Kass cut the cloud shapes and used the same applique adhesive to put on the white clouds. I bunched and pinned it with no rhyme or reason, just trying to tuck the edges under. Then I sewed around the cloud and tacked it down in several places.
You've made it to the end of the pillows! Thanks for bearing with me.
I'm so tired of posting these pillows, I don't even know how I sewed all 7 in 5 days?
To be honest, it almost killed me! I was sooooooo tired all week. The bags under my eyes told the story of my late nights. I was determined not to make my family suffer because I did this contest. I dug to the depths of my soul to be patient with my kids, as tired as I was. They did suffer through their fair share of fast food, during
Crafting With the Stars, but I think I was still a decent mom! ("No other success can compensate for failure in the home" was echoing in my head)! It was all a learning experience. I'm happy with the result and happy I challenged myself! I'm excited to see the final round of the contest unfold tomorrow!
Labels: kids' room projects, quilts and pillows