As you know, our little (6'4") bro got married this summer.The bride is from another state, so they hosted a reception there. (It was fabulous, by the way).
But we needed a party in Cali.
So we, his sisters who act mostly like his mother, planned a little "open house."
"Project Wedding" (I just made that up cuz it sounds like "Project Runway") was a total blast for us.
Our summer was filled with brainstorming, shopping, planning, procrastinating,
and getting excited about this big event. As Kathryn put it...
"we started planning, and then it was like we couldn't stop."
So this week, we are going to share some highlights from the open house that was given by us sisters,
(who have no idea what we're doing, because we've never done this before)
who are trying to make their mom proud, because we know she would have made it beautiful!
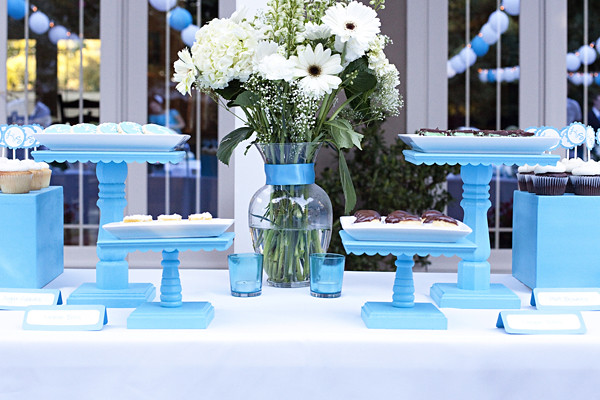
*The colors: Turquoise and White (silver accents)
*The vibe we were going for: Backyard casual, yet still classy enough to look wedding-ish.
*The delegating went like this: I'll do the food and serving things, and Kass, you do everything else.
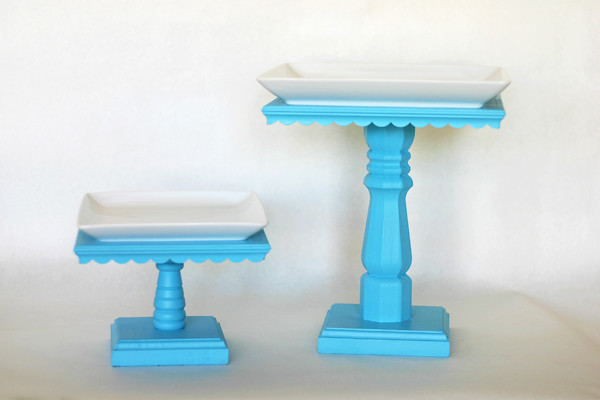
THE CAKE STANDS:
I had a vision of lots of cake stands. I love pedestal cake stands. I wish I had 500 in different shapes and sizes.
I don't though.
But sometimes I get a vision and do a little research.
With a little bit of trial and error, my handy husband makes it appear before my eyes.
I totally assisted... I'm not afraid of sawdust. I am a little afraid of the nail-gun though.
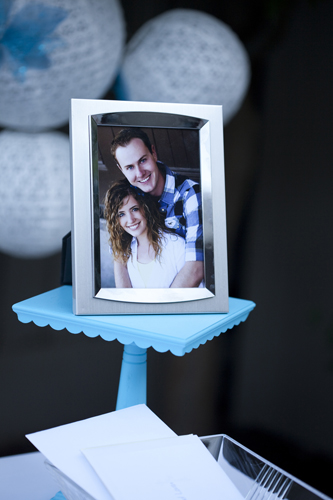
(photo by shandimariephotography)
Here's how we made 9 of these things, on the cheap.
I knew I wanted lots of different foods out, in small quantities (so as not to spoil on a hot August night).
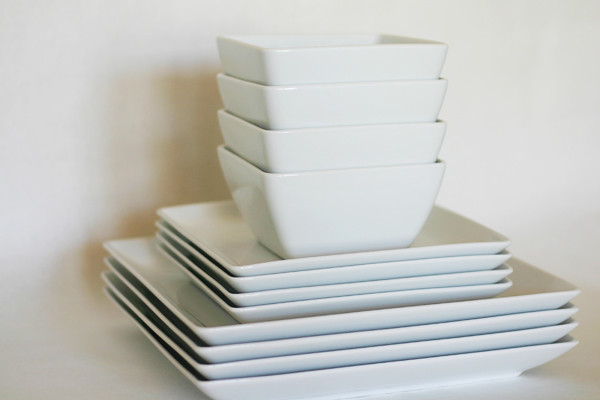
I thought that my dinner and salad plates, that I already had, would be a great size to serve with.
So we made the stands to be a little bigger than the bottom of the plates.
We ended up making 2 different heights for each plate size. So here's the four different ones.
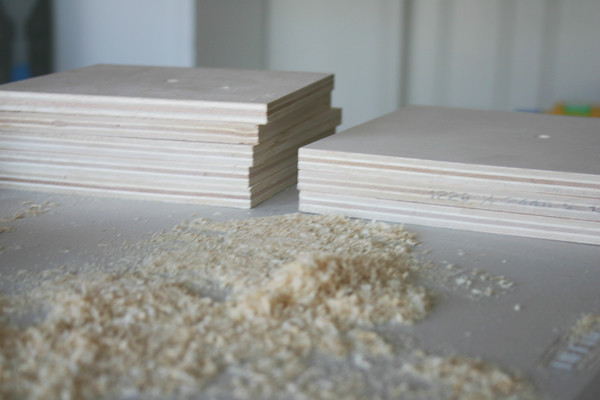
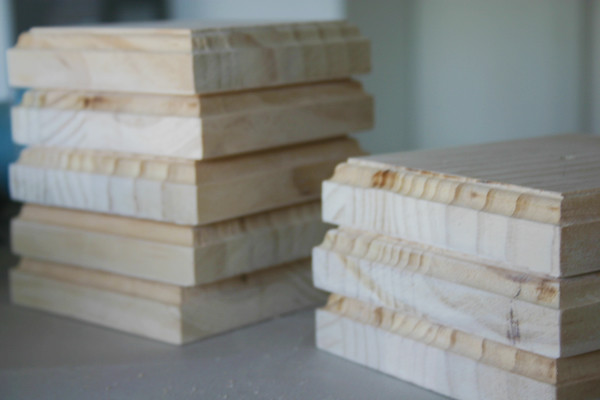
The tops were made out of the smoothest plywood I could find, that was thin enough to work with the trim.
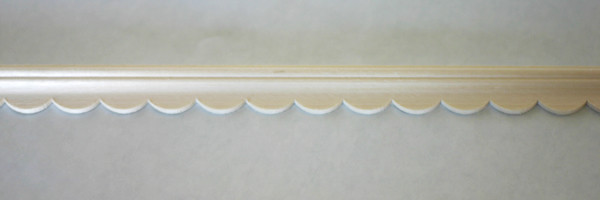
I found the trim at Michael's. I think it's meant for dollhouses, but now it is meant for me.
Home Depot only had a few basic trims to choose from in this thin size.
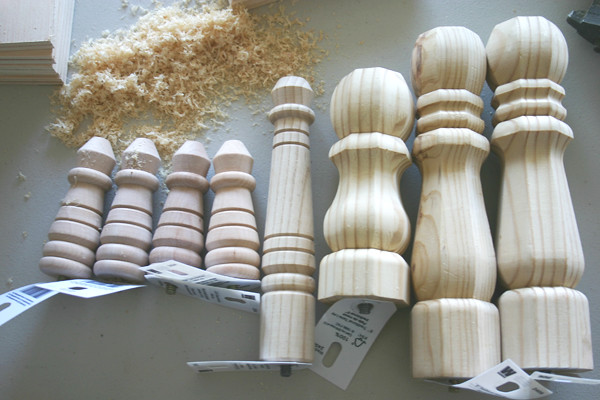
I searched high and low for some kind of candlestick or dowel, or anything that could give these things height.
Then I found these table legs at Home Depot-the perfect solution!
The completely genius thing was that they have a screw built in one end!
This side screwed directly into the base.
The bases were made out of 1" pine (plywood doesn't work very well with a router), cut into squares. We used a 3/16 ogee router bit to do the edges.
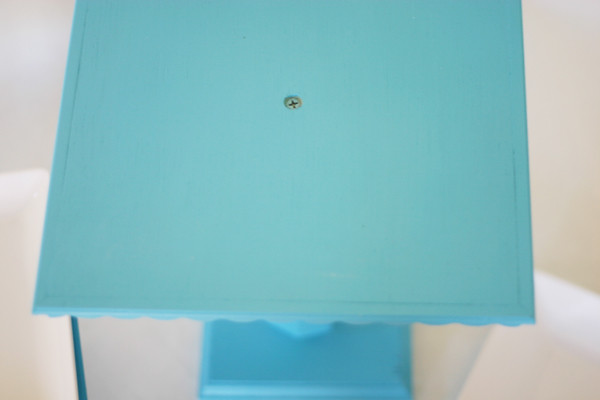
On the tops, we found the center, then used a countersink bit for the hole.
Then we attached the top to the stand with a 1.5 inch screw.
We cut the scalloped moulding at 45's with the miter saw.
Then we attached the trim with wood glue and a pin-nailer.
Then I filled the nail holes and sanded away.
I decided not to fill and sand the top hole.
I realized if I left it this way, I could unscrew these and store them so much easier.
(You know how much I despise the thought of having one more thing to store.)
Plus, the tops would be covered by the plates.
It worked out really well to serve the food quickly, by exchanging a full plate for an almost empty one.
This way, we didn't have to bring the whole stand inside to refill it.
So there is the story of the stands. I need to put these things to good use, to justify the time we put in
on them. I'm thinking they'll get spray painted black/orange here real soon. They'll be so gorgeous in
red for Christmas and Valentines. Pastels at Easter.... yeah, you're gonna see these things again.
And by the way, they don't even have to be holding food. Ahh, the possibilities...
(photo by shandimariephotography)
Stay tuned for more "Project Wedding." We're gonna get right on top of the blog this week!
Labels: building projects, painting projects, wedding